A label is first and foremost a spacer for information on Moodle. You can use it to label a section in a week on your course. Say you have multiple videos you want your students to watch, you can use a label and title it Required Videos to Watch and then place all videos beneath this label.
Creating Labels
- Turn editing on.
- Scroll down to the week you want to work in, and select Add and Activity or Resource.
- Scroll through the Activities and Resources until you come across Text and media area (formerly known as a label).

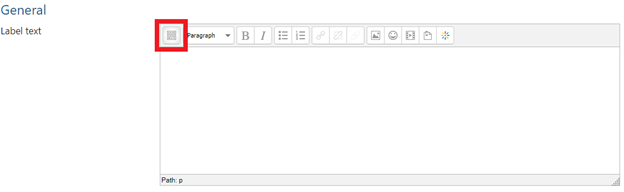
- You’re now in general settings of the Label. Write what you want you for a description, and if you want to make the text bolded, italic or anything else, click on the little arrow in the left hand corner of the general textbox.
 The settings will open up like this:
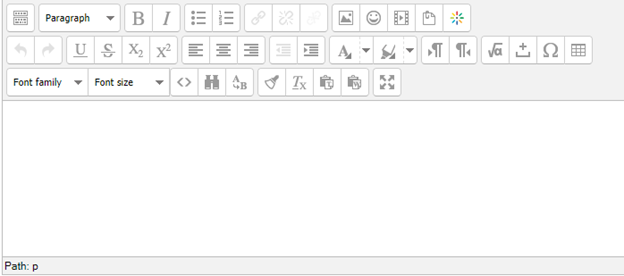
- Once you have the label all set up, scroll down to the bottom of the page and select Save and Return to Course
- You’ll be taken back to your course homepage and the week you were editing in. The label you just made will be at the bottom of that week.
To move the label, click and drag to move the label to its appropriate spot.
ATC Support & Hours of Operation
Weekday Support, Monday - Friday
- Phone (voicemail only): 541-463-3377 (8am-5pm)
- Email: atc@lanecc.edu (8am-5pm)
- Find our updated hours and support options on the ATC Website
The ATC is open to in-person assistance. Support is available through the above remote options and on campus at CEN 208