Introduction
Embedding files to Moodle can be straightforward even for the novice. If you are new to Moodle or have been using Moodle for a long time and you need a different way to embed documents, this article is for you. The following will present several ways to sync the most popular file types, PDFs, image, sound, movie, and PowerPoint files.
Upload File
- Log into Moodle.
-
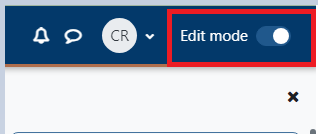
In the top right-hand corner, click on the toggle to turn Editing mode on.

- Scroll down to the week you want to add the item and then click on Add an Activity or Resource near the bottom right hand of each section. Select the activity/resource you wish to add.
-
In the text box type in the file name, highlight the file name, and click on the link button.

-
Click Browse repositories...

-
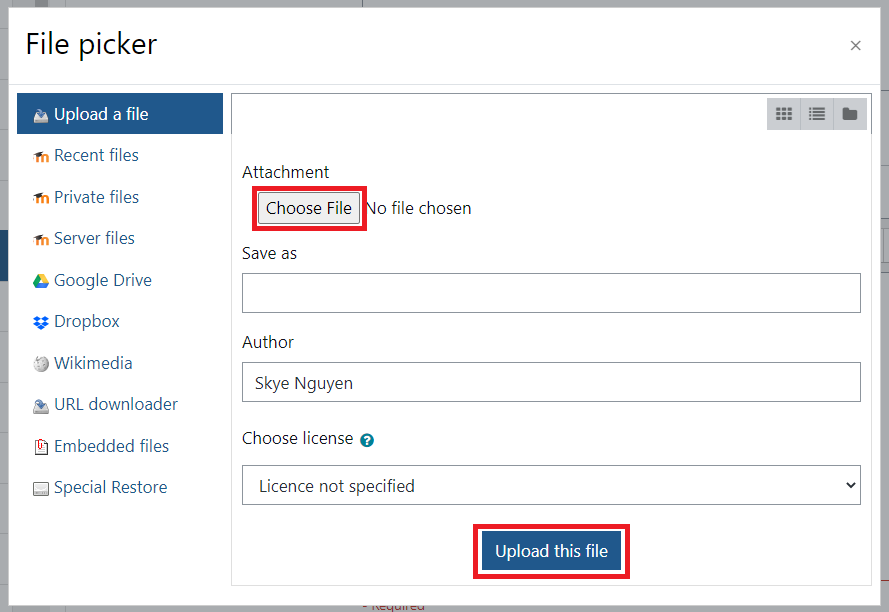
Click Choose File and find file to upload. Once selected, click Upload this file
Upload File to Moodle with Google Drive
- Log into Google Drive and select the appropriate folder to upload your files.
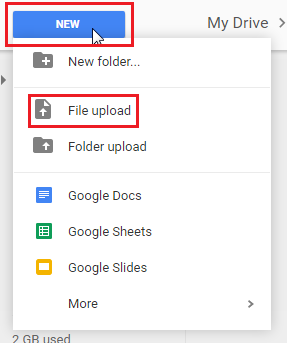
- Click New and then File upload or drag and drop the file.
- Log into Moodle.
-
In the top right-hand corner, click on the toggle to turn Editing mode on.
- Scroll down to the week you want to add the item and then click on Add an Activity or Resource near the bottom right hand of each section. Select the activity/resource you wish to add.
-
In the text box type in the file name, highlight the file name, and click on the link button.

-
Click Browse repositories...

-
On the left-hand list of upload options, select Google Drive. Find and select your file or click Log into your account.
- This can also be done when adding your file to a normal file resource.

- This can also be done when adding your file to a normal file resource.
- Click Upload File and Save your Changes at the bottom of the screen.
Upload Images
- Log into Moodle.
- In the top right-hand corner, click on the toggle to turn Editing mode on.

- Scroll down to the week you want to add the item and then click on Add an Activity or Resource near the bottom right hand of each section. Select the activity/resource you wish to add.
- In the text box, click on Insert/Edit Image.

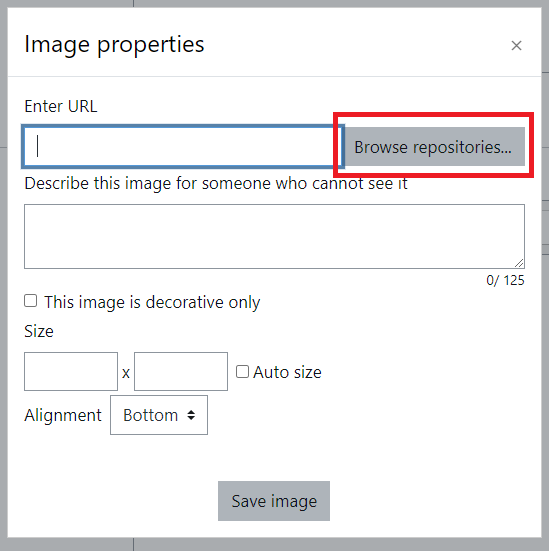
- Click Browse repositories...
- Click Choose File and find file to upload. Once selected, click Upload this file

-
Enter an image description and click Save Image.

Upload Video or Audio
Follow our article, Using Video in the Classroom: Kaltura, to learn how to upload video and audio files onto Moodle using Kaltura.
ATC Support & Hours of Operation
Weekday Support, Monday - Friday
- Phone (voicemail only): 541-463-3377 (8am-5pm)
- Email: atc@lanecc.edu (8am-5pm)
- Find our updated hours and support options on the ATC Website
The ATC is open to in-person assistance. Support is available through the above remote options and on campus at CEN 208