How to Upload a File
- In the right-hand corner of your Moodle course, toggle Edit mode on.
- Scroll down to the week you want to edit, and click on the Add an activity or resource.
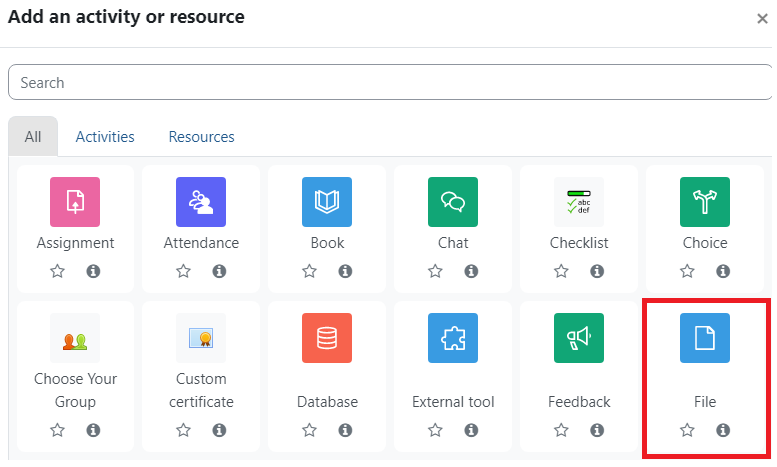
- Select the Resources tab in the Add an Activity or Resource window and choose File.
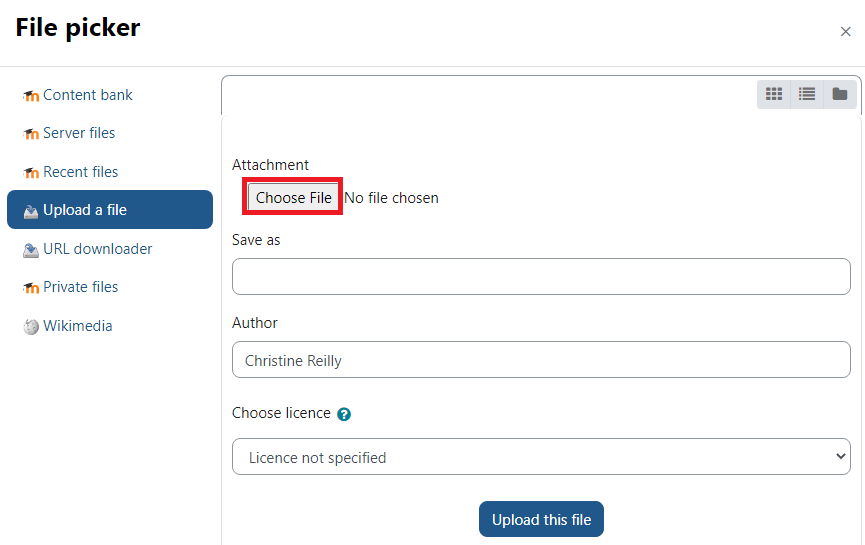
- Choose a name (required) and a description (optional) for your file, then drag and drop your file from its folder to the designated box.
 To drag and drop: Left click on the file. While holding down the left button on the mouse, drag the file to the box, and then let go of the left button.
To manually upload the file: Click on the file clip in the top left-hand corner.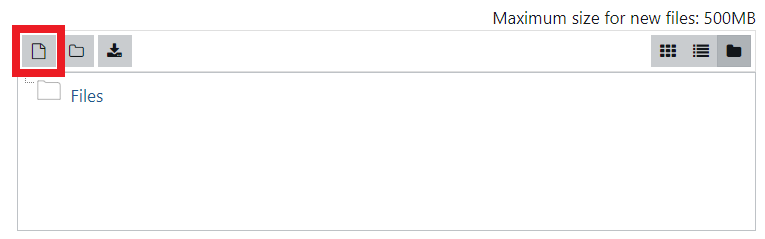
 How to Force Your File to Download
While you're still in the Settings...
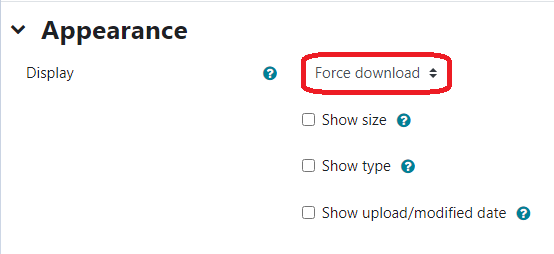
- Scroll down to Appearance and open it up
- In the Display section, you'll see right next to it a drop down menu, the setting should be set at Automatic
- Click Automatic to open up the drop down menu, choose Force download. This will now make the file force download every time a person clicks on the link.
Need Further Help?
For further explanation, see the following MoodleDocs articles:
ATC Support & Hours of Operation
Weekday Support, Monday - Friday
- Phone (voicemail only): 541-463-3377 (8am-5pm)
- Email: atc@lanecc.edu (8am-5pm)
- Find our updated hours and support options on the ATC Website
The ATC is open to in-person assistance. Support is available through the above remote options and on campus at CEN 208