To use Google Photos to create and share albums you will need a Google Account. You can use your Google Google Workspace for Education Account for this.
Upload Images to Google Photos
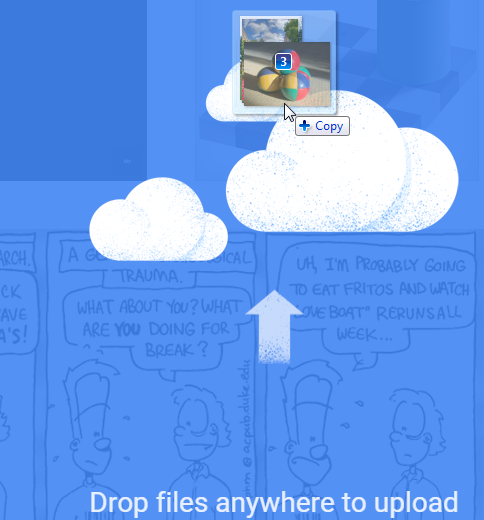
The first step to creating and sharing an album is to upload photos to Google Photos. An easy way to do this is to drag and drop images from your computer into Google Photos. Follow these instructions to upload photos to Google Photos.
Link to Google Photos Site: Google Photos
- Select the images to upload to Google Photos

- Drag and drop the images to Google Photos
Create an Album in Google Photos
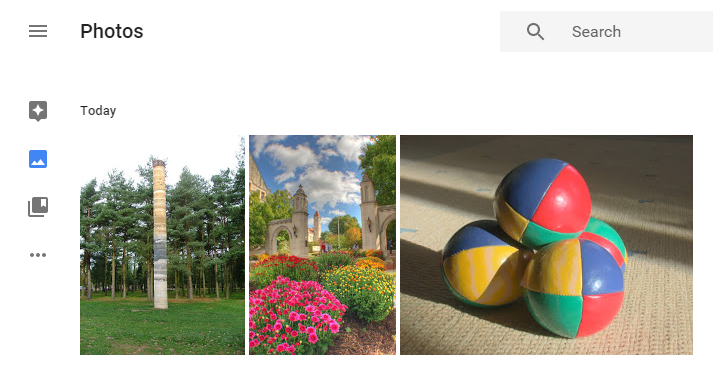
Images uploaded to Google Photos can be put into Albums. Follow these instructions to create an Album:
- Find images to create an album with
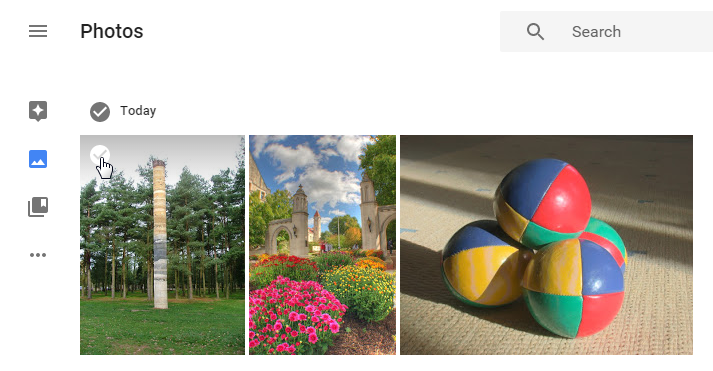
- Select the images using the check mark that appears when you mouse over the image
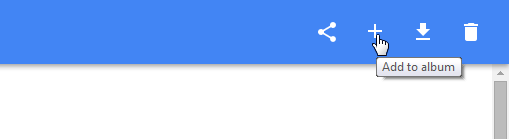
- Press the Add to album button in the top right in the page header
- Press the Create new album link
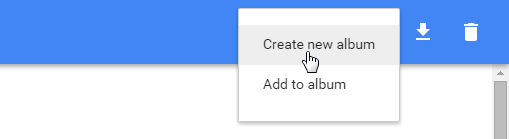
- Name the album

Share an Album
You can share an album created in Google Photos with other people using a link. Follow these instructions to get a link to your album.
- Open the album in Google Photos
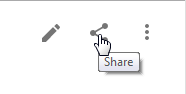
- Press the Share button in the top right of the page header
- Press the Get shareable link button
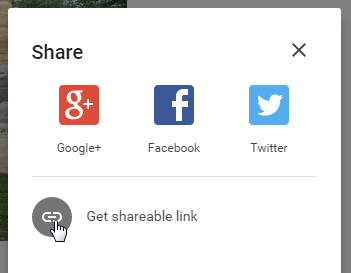
- Share the link with whoever you want to

For Gmail & Google Workspace help:
Check out our Google Gmail & Google Workspace: Support site, or contact the SHED – Student Help Desk
Student Help Desk Support (SHeD)
The student help desk is located on main campus in the Library (center building).
- Self-help resources for students
- Email: shed@lanecc.edu
- Phone: (541) 463-3333 (please leave a voice message