What Is Kaltura?
Kaltura is an online video platform with built-in compatibility with Moodle. As a result of it being online, it ensures compatibility between your video and whatever platform it’s viewed on. If your instructor allows, you can upload video assignments through Kaltura instead of uploading the files directly to Moodle.
Using Kaltura Video Assignments
Uploading your File
1. Click the link for the video assignment.
2. Click Add Media Submission. 3. Click Add New, then select Media Upload from the dropdown menu.
4. Click Choose a file to upload. Select your desired file and click Open. You will see a loading bar as your video uploads.
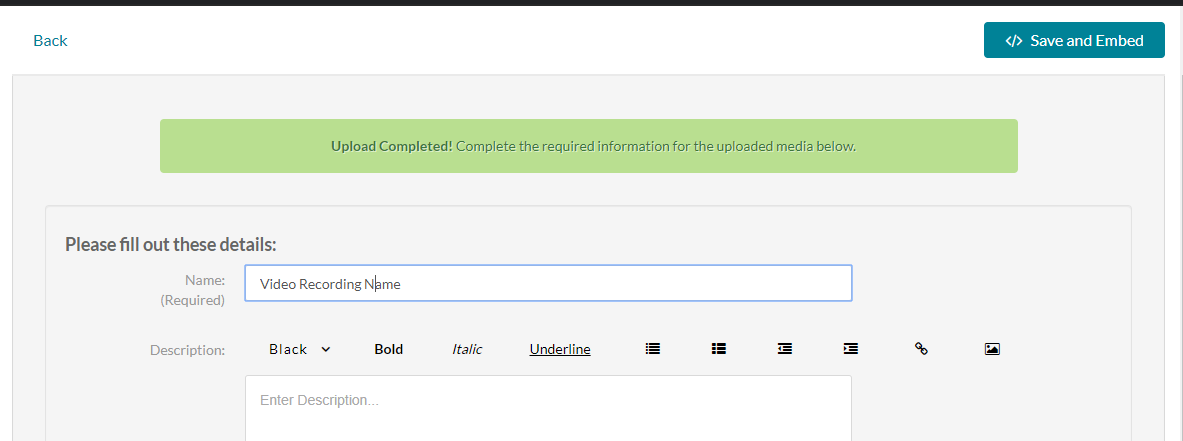
5. Enter a Name, Description, and Tags. A name is required.
6. Click Save at the bottom of the window. The page will reload, with a confirmation at the top.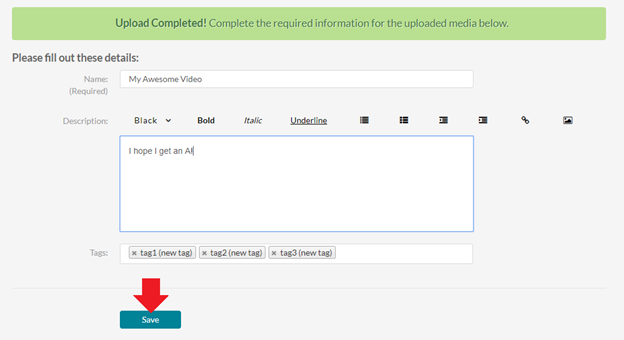
7. Click Back in the top left corner. Your newly uploaded video will be first in the list.
8. Click the arrow on the right side of the Select button for your video. From there, you can choose whether to upload your video as a Large, Medium,or Small file.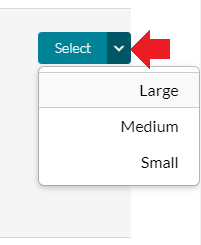 9. After Kaltura closes, click Submit Media at the bottom of the assignment’s page. If you do not click this, your submission will not be saved!
Choosing a Different Video Size
If you wish to change the size your video plays at . . .
- Click Replace Media.
- Find your video.
- Click the arrow on the right side of the Select button and choose a different size.
- Click Submit Media. You will see a confirmation.
Create and Embed Videos in Moodle using Kaltura
Embed
You can embed video content directly into any text area in Moodle where text editing options are given. To get started click the Embed Kaltura Media option found in the text editor options.

The Add Media button creates a pop up window where you can see existing uploaded videos, but also an Add New button will display a menu for new content.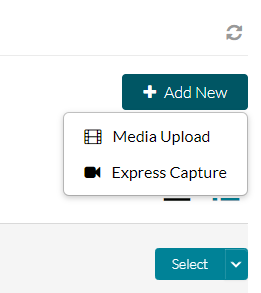
Create with: Express Capture
If you choose this option, another popup window will come up. If you have never used this feature before you may get a prompt that asks permission to use your webcam and microphone.
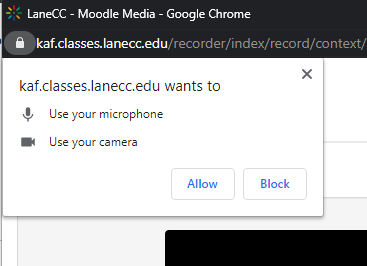
Once you agree, your webcam and microphone will be enabled and you should see your face showing on the screen in front of you.
- At this point, you have the ability to record yourself by clicking the red circle on the screen to start the recording.
- To stop it just click the stop button with the recording time.
- You can change the webcam and mic used by clicking the gear at the top right of the recording window.
Once done you are given the option to Record again, Download a copy, and Use this. Use this will upload the video and let you change the name and description of the video.

Click Save and Embed at the top right to add it as the resource.
Student Help Desk Support (SHeD)
The student help desk is located on main campus in the Library (center building).
- Self-help resources for students
- Email: shed@lanecc.edu
- Phone: (541) 463-3333 (please leave a voice message