- Click the icon containing the mountain and sun.
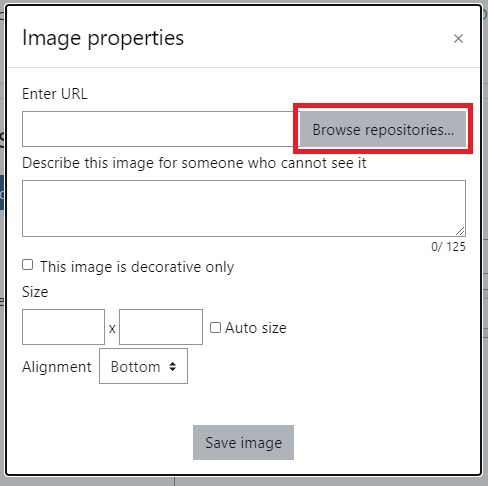
- Select "Browse repositories..."or copy and paste a URL of the picture.
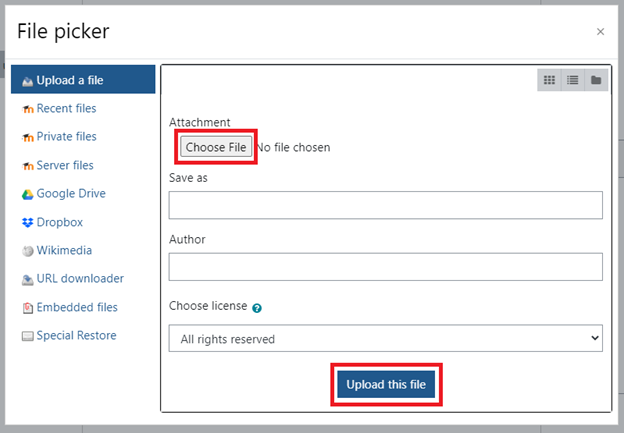
- Click "Choose File", select the file from your computer, and click "Upload this file".
- Adjust the image settings:
- In the text box enter a description of your image or if the image is just decorative check the box for "This image is decorative only", below the text box. Note: One of these two options has to be done in order to save the the image.
- Adjust the size of your image if you'd like by lowering or increasing one of the two numbers and clicking off into white space. Clicking into the white space will adjust the second number for you when "Auto size" is checked
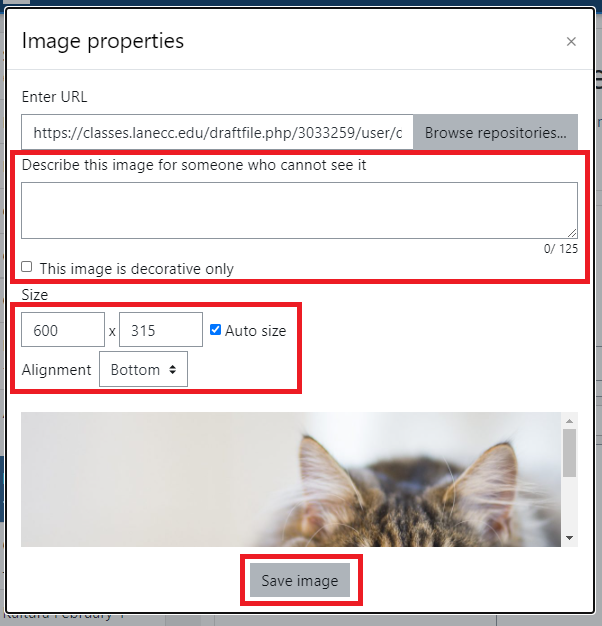
- Click "Save Image" and you're done!
Student Help Desk Support (SHeD)
The student help desk is located on main campus in the Library (center building).
- Self-help resources for students
- Email: shed@lanecc.edu
- Phone: (541) 463-3333 (please leave a voice message